 speaketti
Set up Speaketti
About two minutes from download to your first sentence. Here's every screen you'll see.
- Install
- Choose how it writes
- Allow the microphone and Accessibility
- Free up the 🌐 key
- Let the speech models download
- Say your first sentence
- Activate your licence
Step 1
Install
Open Speaketti.dmg from your Downloads and drag Speaketti into Applications. Open it from there.
Speaketti lives in the menu bar at the top right of your screen, not in the Dock. A welcome window walks you through the rest.
Step 2
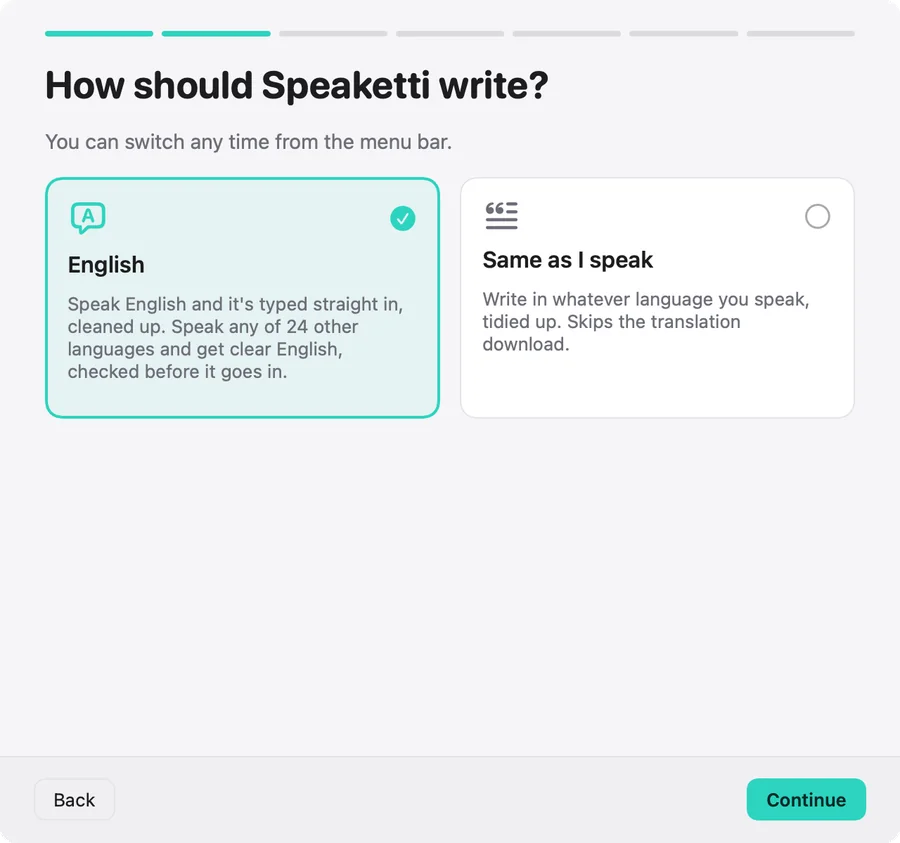
Choose how it writes
English (most people): speak English and it's typed straight in, cleaned up. Speak any of 24 other languages and you get clear English, shown next to your words so you can check it first.
Same as I speak: it writes in whatever language you speak. You can switch any time from the menu bar.
Step 3
Allow the microphone and Accessibility
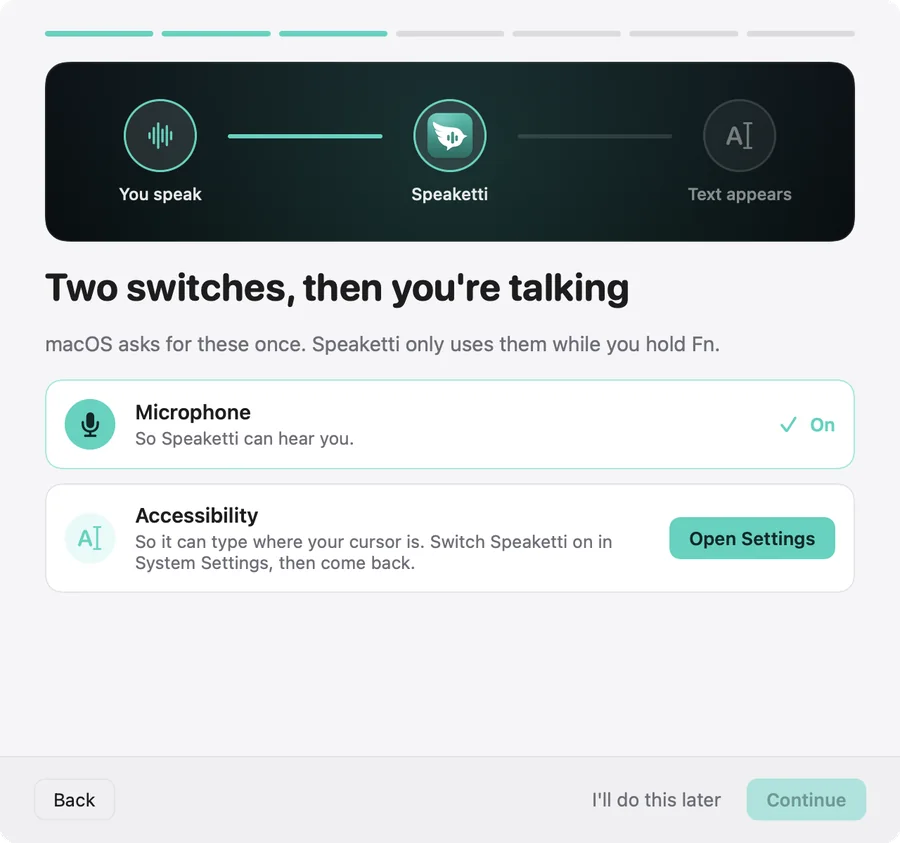
Two switches macOS asks for once. Microphone lets Speaketti hear you. Accessibility lets it notice the key you hold and type where your cursor is.
Accessibility opens System Settings › Privacy & Security › Accessibility. Switch Speaketti on and come back; the window ticks over by itself. Not in the list? Click +, choose Applications › Speaketti.
Step 4 · Only if you see this step
Free up the 🌐 key
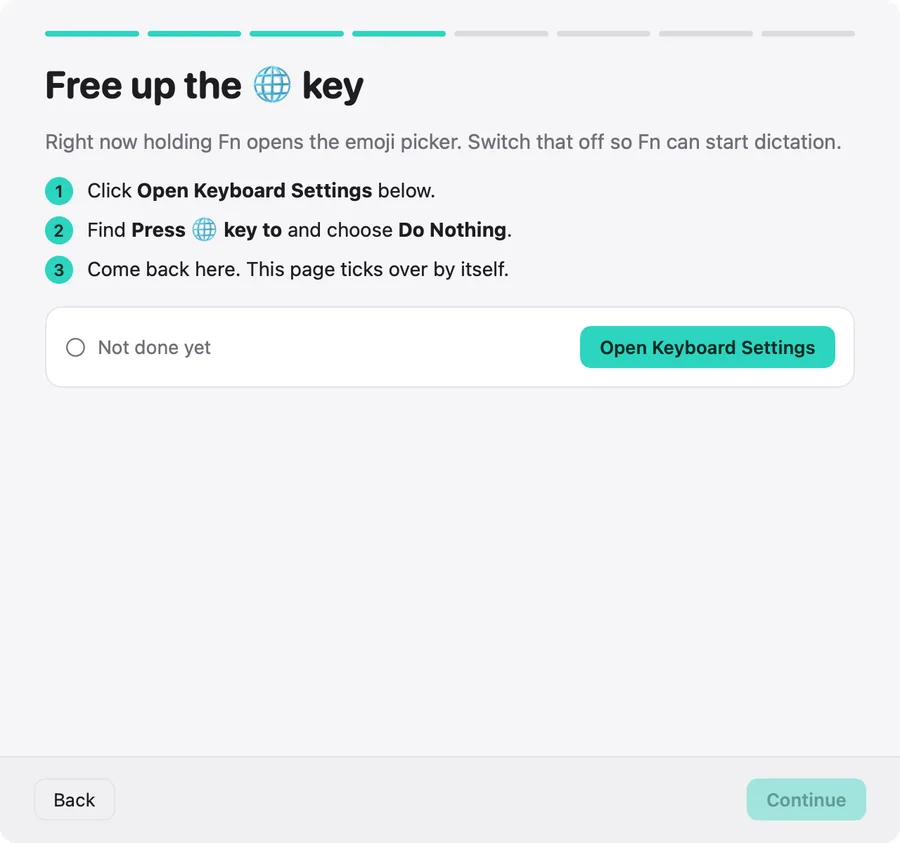
On many Macs, holding fn 🌐 opens the emoji picker. Speaketti only shows this step if yours does.
Open System Settings › Keyboard, find “Press 🌐 key to” and choose Do Nothing. Rather keep it? Use Right ⌥ as your dictation key instead (Settings › Keys & recorder).
Step 5
Let the speech models download
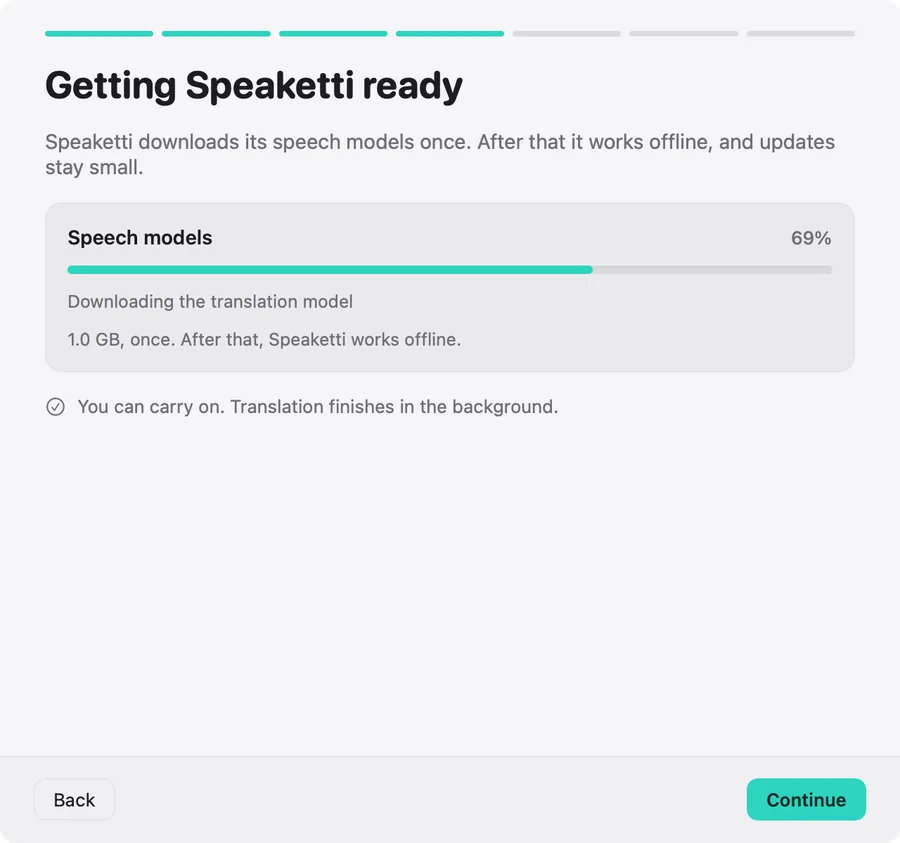
Speaketti downloads its speech models once, about 1 GB from speaketti.com, usually in a minute or two. After that it works offline.
It needs about 1.6 GB free. If the connection drops, it carries on by itself from where it stopped.
Step 6
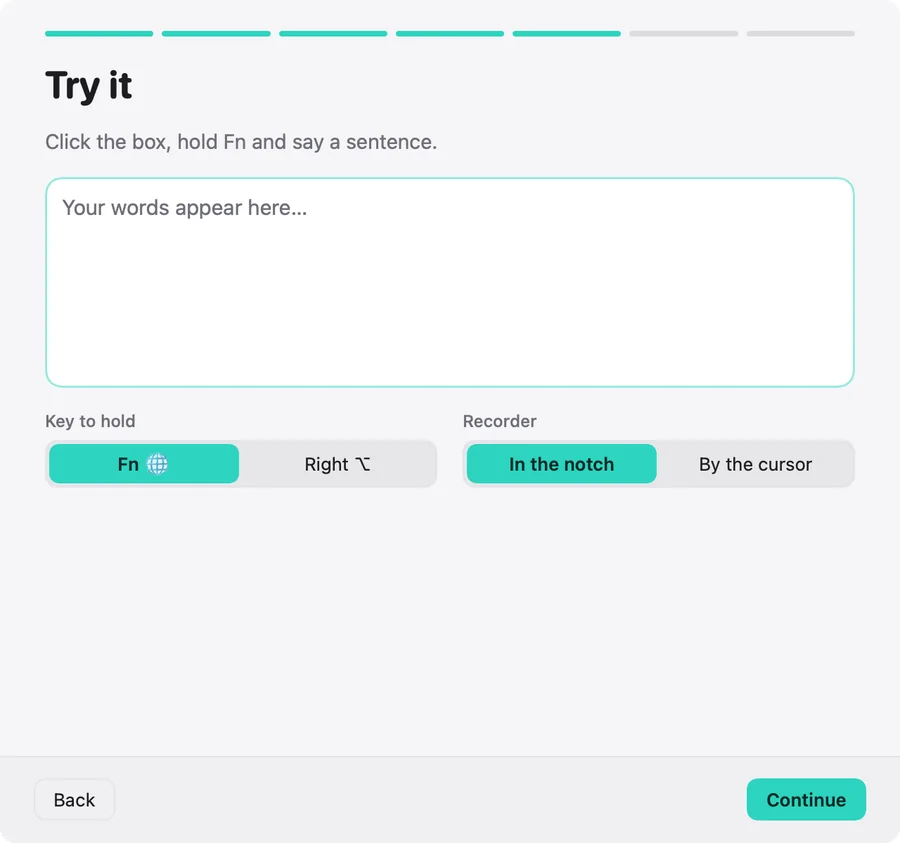
Say your first sentence
Click into the box, hold fn, say a sentence, let go. Your words appear, cleaned up.
Double-tap fn to talk hands-free, then tap once to finish. Esc cancels. ⌘Z takes back the last insert.
Step 7
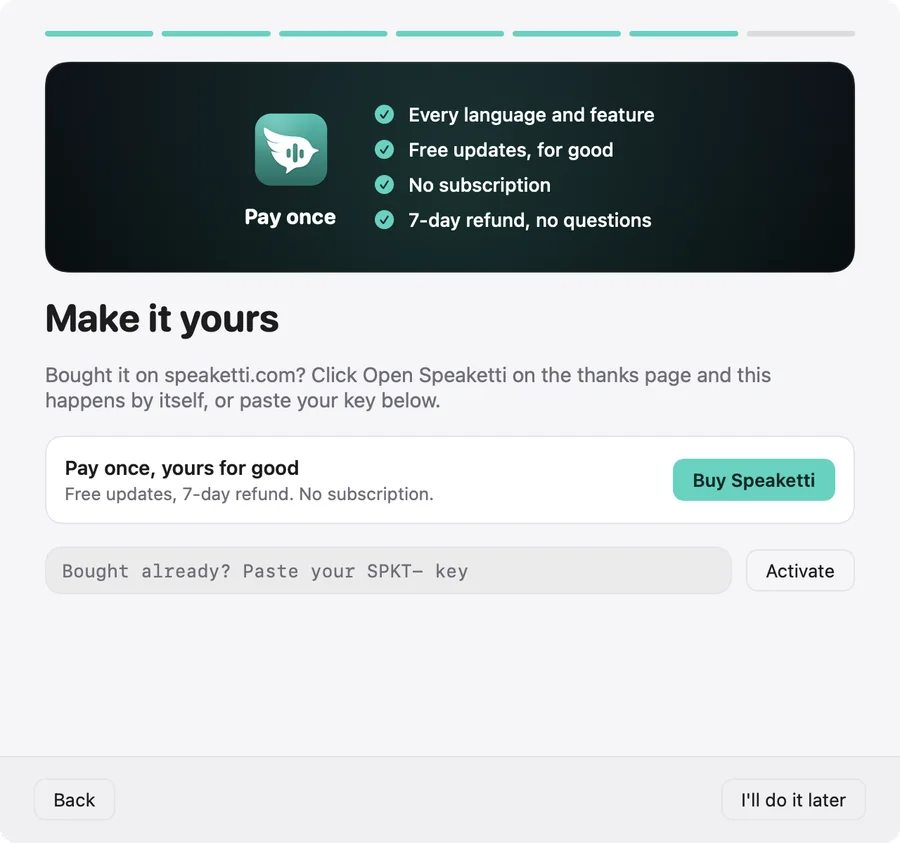
Activate your licence
Click Activate Speaketti on the thanks page or in your email: Speaketti opens, asks you to confirm, and it's yours.
Or paste your key (it starts with SPKT-) into this step or Settings › Licence. One licence works on one Mac.
Common setup problems
Holding fn opens the emoji picker
Set System Settings › Keyboard › “Press 🌐 key to” to Do Nothing (step 4), or switch to Right ⌥ in Settings › Keys & recorder.
I hold fn and nothing happens
Accessibility is probably off. Open System Settings › Privacy & Security › Accessibility and switch Speaketti on. If it's already on, switch it off and on again once.
It says “Activate Speaketti to start dictating”
Speaketti needs a licence key. Click Activate Speaketti in your email or on the thanks page, or paste the key into Settings › Licence.
The text doesn't appear where I'm typing
Click into the text field first. Password fields are blocked by macOS. Your last dictation is always one click away: Paste last in the menu bar.
Setup is stuck on “Getting Speaketti ready”
It needs the internet once and about 1.6 GB free. It carries on by itself when you're back online; you can also click Try again.
“This key is already used on another Mac”
A licence works on one Mac. Deactivate it on the old Mac (Settings › Licence), or email us and we'll move it for you.
I can't find the email with my key
Check spam for an email from hello@speaketti.com. You can have it sent again at speaketti.com/download.
Where did Speaketti go?
Look for its icon in the menu bar at the top right. Opening Speaketti again from Applications brings up its Settings.